 anabelle
 By anabelle
 Fact checked by Edward Harrington
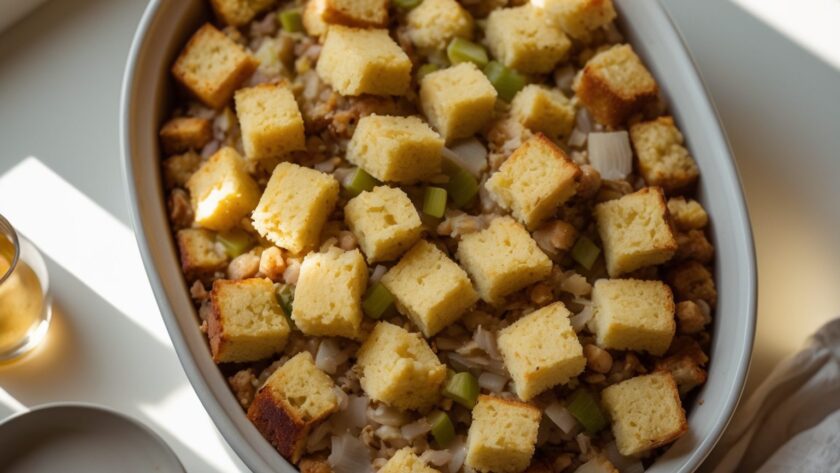
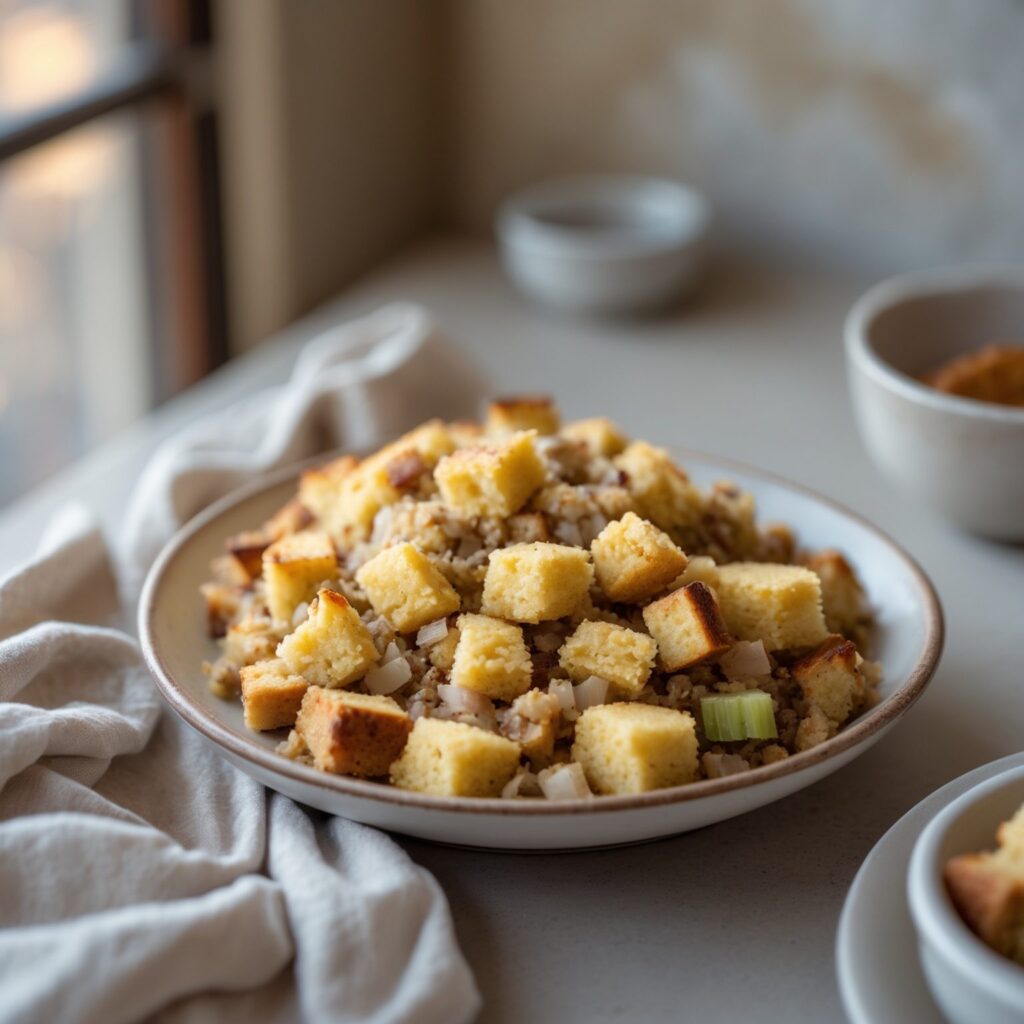
This Martha Stewart inspired cornbread stuffing is the kind of side dish that quietly steals the show at the table. It’s savory and moist in the middle, with a golden, crisp top, thanks to crumbled cornbread, sweet onion, celery, and plenty of fresh sage and thyme. My version is inspired by Martha Stewart’s classic American home cooking, not a copy of her original, but it hits the same comforting notes.
You’ll need about 70 minutes from start to finish, and most of that is hands-off baking time. The method is straightforward enough for a weeknight dinner, yet special enough to earn a spot on the holiday table or at a potluck. Serve it warm from the oven with a little extra butter melting on top.
Why This Martha Stewart Inspired Cornbread Stuffing Works
Two things make this stuffing taste right. First, the cornbread gets dried out before anything else happens, so it soaks up the broth and butter instead of turning to mush. Second, the onion and celery are cooked down in butter until soft, which builds a sweet, savory base for the herbs.
The eggs and milk hold everything together just enough that it slices cleanly but still feels moist. Pressing the mixture lightly into the dish, rather than packing it down, is what gives you that crisp, golden crust on top.
What You’ll Love About It
- Simple pantry staples — Everyday ingredients you likely already have on hand.
- Make ahead friendly — Assemble up to a day ahead for less stress.
- Feeds a crowd — Makes 8 generous side servings.
- Golden crisp top — Soft center, toasty edges, and buttery flavor throughout.
Ingredients
Here’s everything you’ll need for this stuffing.
- 4 cups (500g) crumbled cornbread — dried overnight so it soaks up the broth.
- 4 tablespoons (57g) unsalted butter
- 1 medium yellow onion, finely chopped (about 1 cup)
- 3 medium celery stalks, finely chopped (about 1 cup)
- 2 cloves garlic, minced
- 1 teaspoon kosher salt
- 1/2 teaspoon freshly ground black pepper
- 1 tablespoon chopped fresh sage
- 1 teaspoon chopped fresh thyme
- 2 large eggs, beaten
- 1 1/2 cups (360ml) chicken broth — add a splash more if the mix looks dry.
- 1/4 cup (60ml) whole milk
Equipment
- 9×13-inch (23x33cm) baking dish — butter it before you begin.
- Rimmed baking sheet — for toasting the cornbread.
- Large skillet — big enough for the onion and celery.
- Large mixing bowl — for tossing everything together.
- Instant-read thermometer — to check the center is done.
- Aluminum foil — to cover the dish while it bakes.
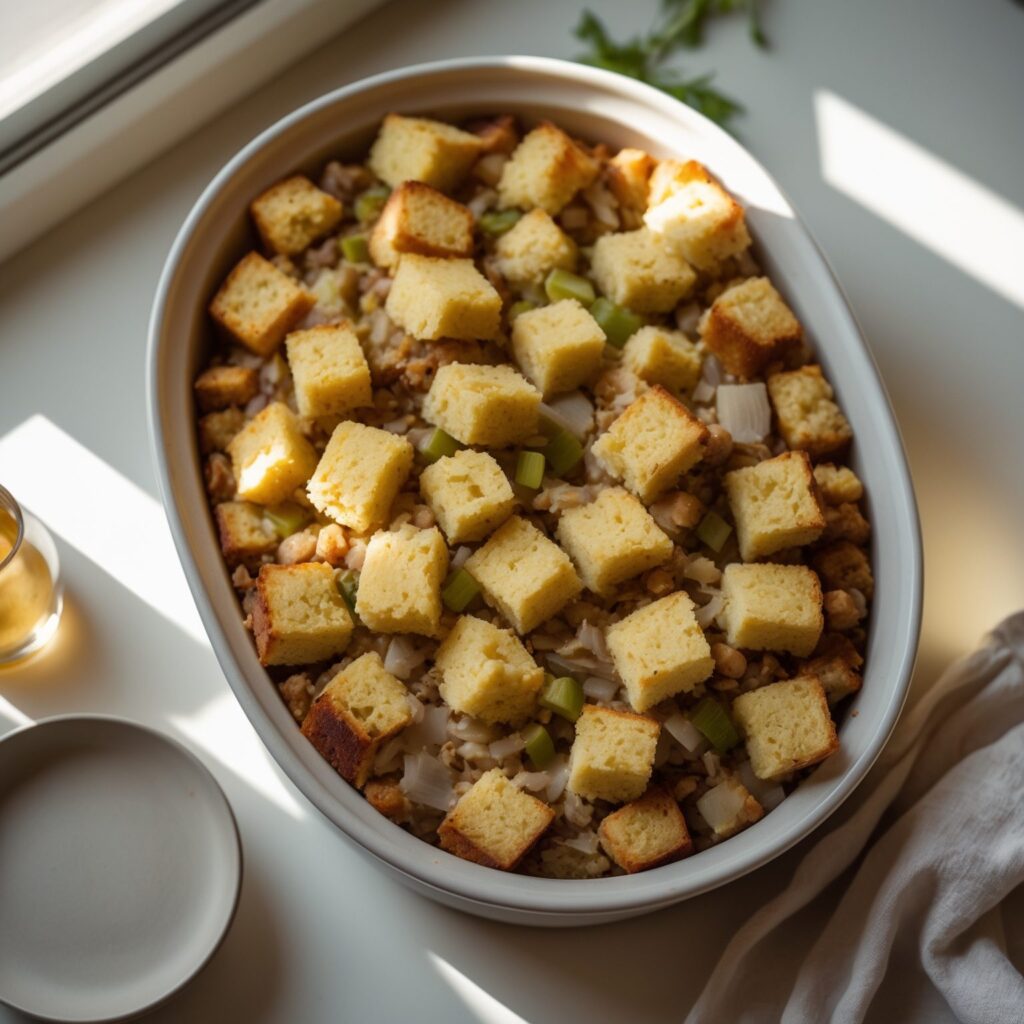
How to Make Martha Stewart Inspired Cornbread Stuffing
Step 1: Toast the Cornbread
Preheat the oven to 350°F (175°C) and butter a 9×13-inch (23x33cm) baking dish. Spread the 4 cups (500g) of crumbled cornbread on a rimmed baking sheet and toast for 10 minutes, until dry and lightly golden at the edges. Transfer it to a large bowl. This step keeps the stuffing from getting soggy later.
Step 2: Cook the Aromatics
Melt 4 tablespoons (57g) of unsalted butter in a large skillet over medium heat. Add the chopped onion and celery and cook, stirring occasionally, until softened, about 8 minutes. Add the 2 minced garlic cloves and cook for 1 minute more, just until fragrant. Don’t let the garlic brown, or it will turn bitter.
Step 3: Add the Herbs and Seasoning
Stir in 1 teaspoon kosher salt, 1/2 teaspoon black pepper, 1 tablespoon chopped fresh sage, and 1 teaspoon chopped fresh thyme. Cook for 30 seconds to bloom the herbs, then pour the whole mixture over the cornbread in the bowl and toss lightly.
Step 4: Mix the Binder and Fold
In a separate bowl, whisk together 2 beaten eggs, 1 1/2 cups (360ml) chicken broth, and 1/4 cup (60ml) whole milk. Pour this over the cornbread mixture and fold gently until evenly moistened. The stuffing should hold together when you press it but not feel soggy; if it seems dry, add a splash more broth.
Step 5: Bake Covered
Transfer the stuffing to the prepared baking dish and spread it in an even layer without packing it down too firmly. Cover the dish with foil and bake for 25 minutes. Covering traps the steam so the center cooks through evenly.
Step 6: Bake Uncovered Until Golden
Remove the foil and bake for another 20 to 25 minutes, until the top is golden brown and crisp and the center registers 160°F (71°C) on an instant-read thermometer. Watch the last few minutes so the top doesn’t go too dark.
Step 7: Rest Before Serving
Let the dish rest for 10 minutes before serving. This short rest lets the juices settle so the stuffing holds its shape when you scoop it out.
What to Serve With It
- Roast turkey — The classic partner for any holiday spread.
- Glazed carrots — A touch of sweetness balances the savory herbs.
- Mashed potatoes — Comforting and ready for a drizzle of gravy.
- Lemonade — Bright and refreshing alongside a rich plate.
Tips for the Best Results
Dry your cornbread the night before; day-old bread soaks up broth without collapsing. Add the broth a little at a time and stop when the mix just holds together, since wet stuffing bakes up dense. Letting the dish rest before serving keeps each scoop neat.
Easy Variations
Swap the fresh sage for 1 teaspoon of dried sage if that’s what you have. For a sweeter, fruitier version, fold in 1/2 cup of dried cranberries with the broth. A pinch of smoked paprika added with the herbs gives a gentle smoky note without changing the texture.
Storing and Reheating
- Fridge storage — Keep leftovers in an airtight container for up to 4 days.
- Freezer storage — Wrap tightly and freeze for up to 3 months.
- Make ahead — Assemble up to 24 hours ahead and refrigerate, adding 10 minutes to the covered bake time.
- Reheating — Cover and reheat at 350°F (175°C) for 15 to 20 minutes, until it reaches 165°F (74°C).
Nutrition (per serving)
These values are estimates per serving and will vary based on your ingredients.
| Nutrient | Amount |
|---|---|
| Calories | 280 kcal |
| Protein | 7g |
| Carbs | 34g |
| Fat | 12g |
| Fiber | 2g |
| Sodium | 700mg |
FAQs
Can I make this Martha Stewart inspired cornbread stuffing recipe ahead of time?
Yes. Assemble the whole dish up to 24 hours in advance, cover, and refrigerate it. When you bake, add 10 minutes to the covered baking time to make up for the cold dish.
Where did cornbread stuffing come from?
Cornbread stuffing is a staple of the American South, where cornbread was a common everyday bread. Home cooks crumbled leftover cornbread with broth, onion, and herbs to stretch it into a hearty side, and it became a Thanksgiving favorite over time.
Why is my stuffing mushy or dry?
Mushy stuffing usually means too much liquid or bread that wasn’t dried first. Dry stuffing often just needs a splash more broth stirred in before baking, so add it gradually.
Can I use dried herbs instead of fresh?
Yes, use about 1 teaspoon of dried sage and 1/3 teaspoon of dried thyme in place of the fresh amounts. Add them with the other seasonings so they have time to soften and release flavor.
PrintMartha Stewart Inspired Cornbread Stuffing
A moist, savory cornbread stuffing inspired by Martha Stewart’s classic American home cooking. Crumbled cornbread, sweet onion, and celery are bound with rich chicken broth and butter, then baked until golden and crisp on top. It’s the perfect side for holidays and Sunday dinners.
- Prep Time: 20
- Cook Time: 50
- Total Time: 70
- Yield: 8 1x
- Category: Side Dish
- Method: Baking
- Cuisine: American
Ingredients
- 4 cups (500g) crumbled cornbread, dried overnight
- 4 tablespoons (57g) unsalted butter
- 1 medium yellow onion, finely chopped (about 1 cup)
- 3 medium celery stalks, finely chopped (about 1 cup)
- 2 cloves garlic, minced
- 1 teaspoon kosher salt
- 1/2 teaspoon freshly ground black pepper
- 1 tablespoon chopped fresh sage
- 1 teaspoon chopped fresh thyme
- 2 large eggs, beaten
- 1 1/2 cups (360ml) chicken broth
- 1/4 cup (60ml) whole milk
Instructions
- Preheat oven to 350°F (175°C) and butter a 9×13-inch (23x33cm) baking dish. Spread the crumbled cornbread on a baking sheet and toast in the oven for 10 minutes, until dry and lightly golden. Transfer to a large bowl.
- In a large skillet, melt the butter over medium heat. Add the onion and celery and cook, stirring occasionally, until softened, about 8 minutes. Add the garlic and cook for 1 minute more, until fragrant.
- Stir in the salt, pepper, sage, and thyme. Cook for 30 seconds, then pour the mixture over the cornbread in the bowl.
- In a separate bowl, whisk together the eggs, chicken broth, and milk. Pour over the cornbread mixture and fold gently until evenly moistened. The mixture should hold together when pressed but not be soggy; add a splash more broth if it seems dry.
- Transfer the stuffing to the prepared baking dish and spread in an even layer. Cover with foil and bake for 25 minutes.
- Remove the foil and bake for another 20 to 25 minutes, until the top is golden brown and crisp and the center registers 160°F (71°C) on an instant-read thermometer.
- Let rest for 10 minutes before serving.
Notes
Store leftovers in an airtight container in the refrigerator for up to 4 days. To freeze, wrap tightly and freeze for up to 3 months; thaw overnight in the refrigerator before reheating. Reheat covered in a 350°F (175°C) oven for 15 to 20 minutes, or until heated through. Make-ahead: assemble the stuffing up to 24 hours in advance, cover, and refrigerate; add 10 minutes to the covered baking time.
Nutrition
- Calories: 280
- Sugar: 5g
- Sodium: 700mg
- Saturated Fat: 5g
- Carbohydrates: 34g
- Fiber: 2g
- Protein: 7g
- Cholesterol: 80mg
Keywords: cornbread stuffing, Martha Stewart inspired stuffing, Thanksgiving stuffing, cornbread dressing, easy stuffing recipe, homemade stuffing, holiday side dish, savory stuffing, baked stuffing, classic stuffing