 anabelle
 By anabelle
 Fact checked by Edward Harrington
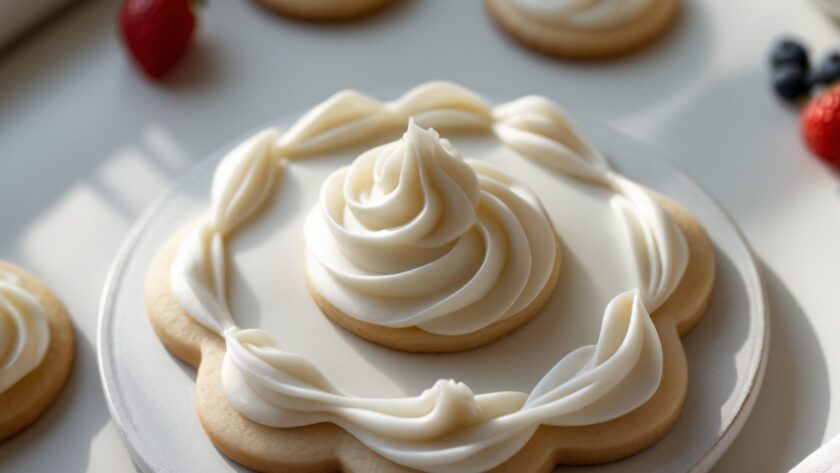
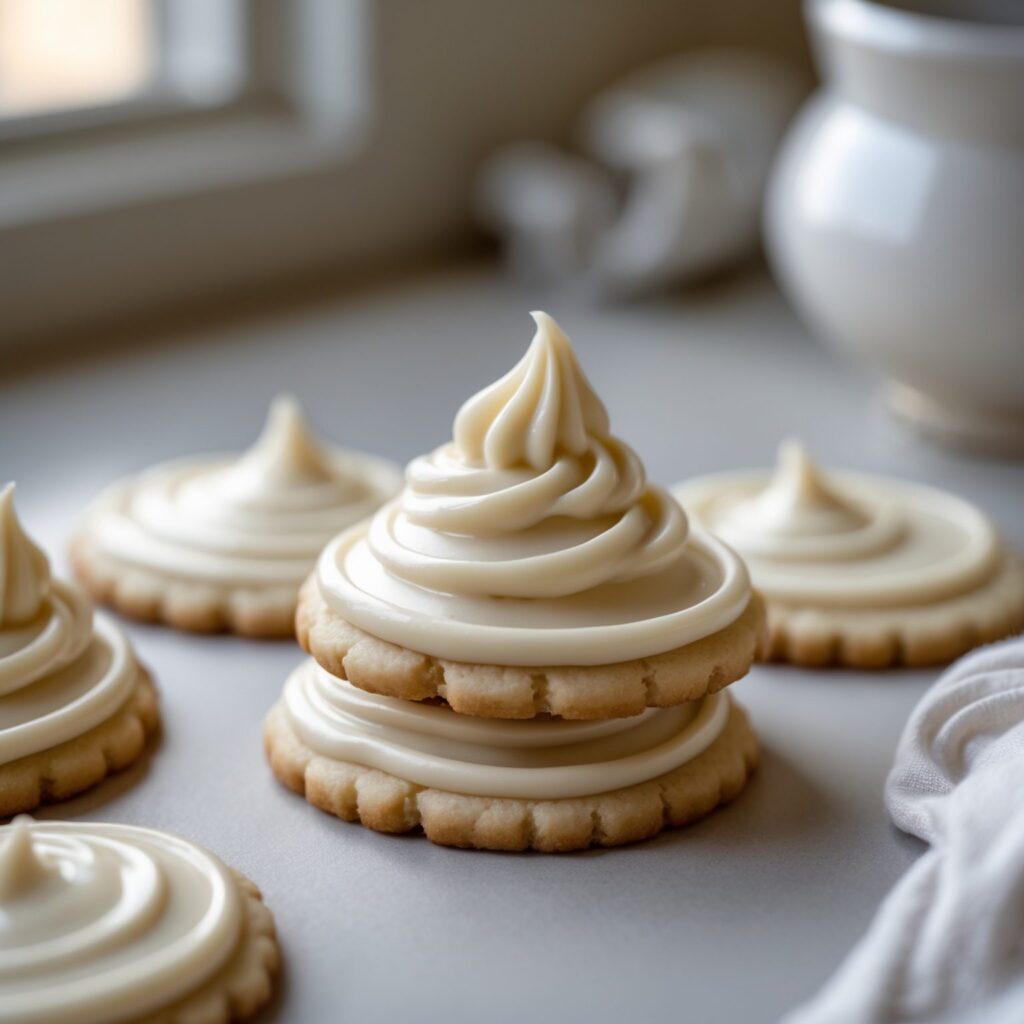
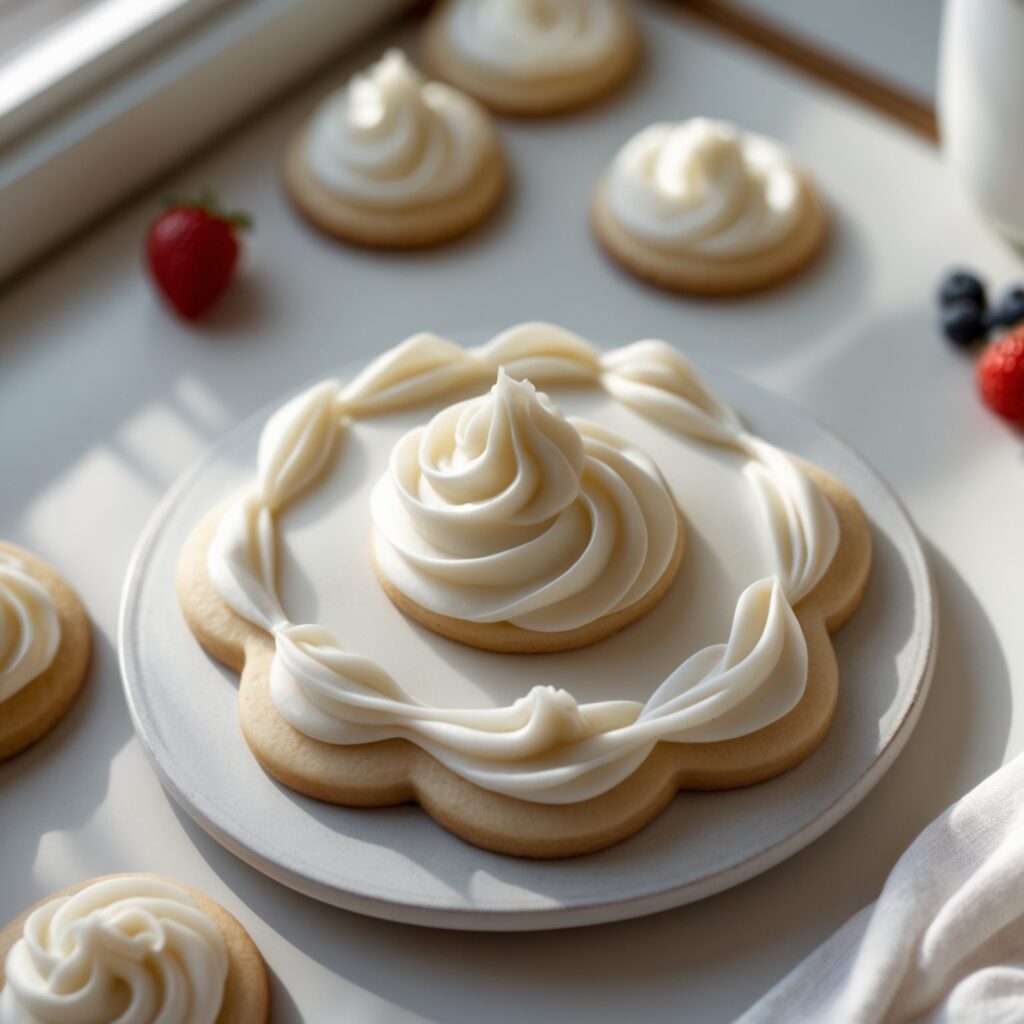
Martha Stewart sugar cookie icing is the glossy, pipeable finishing touch that turns plain cutouts into bakery-style cookies. It is sweet and clean with a light vanilla flavor, and it sets to a smooth, matte surface that keeps a gentle snap. This version is inspired by Martha Stewart’s classic approach to decorated cookies, not a copy of her exact formula.
It takes about 10 minutes from start to finish and needs no cooking at all, just a mixer and a little patience. Reach for it during holiday baking marathons, for a weekend project with kids, or when you need a tray of cookies for a potluck or bake sale.
Why This Martha Stewart Sugar Cookie Icing Works
Meringue powder does the heavy lifting here. It gives the icing its structure and that soft-peak body without any raw egg whites, so it pipes cleanly and dries firm.
Beating time is the other key. Four to five minutes on medium-high takes the mixture from dull and grainy to smooth and marshmallow-like, and that is what makes it hold an outline without sagging.
What You’ll Love About It
- Quick to mix — One bowl and ten minutes, start to finish.
- Adjustable texture — A splash of water takes it from outlining to flooding.
- Reliable set — Dries firm enough to stack cookies once fully cured.
- Neutral flavor — Light vanilla sweetness that lets the cookie lead.
Ingredients
Six pantry items are all you need, and sifting the sugar first matters more than you would think.
- 4 cups (480g) powdered sugar — sifted before measuring, or you will fight lumps all day.
- 3 tbsp (30g) meringue powder — the stabilizer that gives the icing its structure.
- 1/2 tsp (2g) kosher salt — balances the sweetness.
- 6 tbsp (90ml) warm water — plus more as needed to thin.
- 1 tsp (5ml) vanilla extract
- Gel food coloring — optional, for tinting.
Equipment
- Stand mixer — fitted with the paddle attachment.
- Fine-mesh sieve — for sifting the powdered sugar.
- Flexible spatula — for scraping the bowl and paddle.
- Small bowls — for dividing and tinting colors.
- Piping bags — fitted with small round tips.
- Plastic wrap — pressed directly onto the icing surface.
How to Make Martha Stewart Sugar Cookie Icing
Step 1: Combine the Dry Ingredients
In the bowl of a stand mixer fitted with the paddle attachment, combine 4 cups (480g) sifted powdered sugar, 3 tbsp (30g) meringue powder, and 1/2 tsp (2g) kosher salt on low speed until evenly mixed, about 30 seconds. Sifting the powdered sugar first is essential; skipping it leaves hard lumps that clog piping tips.
Step 2: Add the Water and Vanilla
With the mixer running on low, slowly add 6 tbsp (90ml) warm water and 1 tsp (5ml) vanilla extract. Mix until the dry ingredients are fully moistened, then scrape down the bowl and paddle. The mixture will look shaggy at this point, and that is normal.
Step 3: Beat to Soft Peaks
Increase the speed to medium-high and beat until the icing is thick, glossy, and holds a soft peak when the paddle is lifted, 4 to 5 minutes. If it looks dull or grainy, keep beating; it should become smooth and marshmallow-like. Stop too early and the icing will not hold a clean line.
Step 4: Dial In the Consistency
Check the consistency: for outlining, the icing should ribbon off the paddle and hold its shape on the surface for a few seconds. For flooding, stir in additional warm water 1 teaspoon at a time until it flows in a smooth ribbon that disappears into the bowl within 10 seconds. Go slowly here, because a little water changes the texture fast.
Step 5: Tint the Icing
If tinting, divide the icing among small bowls and stir in gel food coloring one drop at a time until the desired shade is reached. Gel coloring is preferred over liquid, which thins the icing and dulls the color. Remember that colors deepen slightly as the icing dries.
Step 6: Bag It Up
Transfer the icing to piping bags fitted with small round tips or to squeeze bottles. Work with one color at a time and keep the remaining icing covered with plastic wrap pressed directly onto the surface to prevent a crust from forming. An exposed bowl will skin over in minutes.
Step 7: Outline and Flood
Pipe outlines on completely cooled cookies and let them set for 10 to 15 minutes before flooding the centers. Use a toothpick to drag the flood icing into corners and pop any air bubbles. Working in this order gives you a clean dam so the flood stays put.
Step 8: Dry Fully
Let the decorated cookies dry uncovered at room temperature until the icing is fully set and firm to the touch, at least 2 hours or up to overnight, depending on humidity. Do not stack or package the cookies until the icing is completely hard, or you will get smudges and dents.
What to Serve With It
This icing belongs on plain sugar cookies, gingerbread cutouts, and shortbread rounds. It also looks great on simple butter cookies and homemade graham crackers for a holiday tray. Pair the finished cookies with coffee, cold milk, or hot cocoa for an afternoon treat.
Tips for the Best Results
- Sift twice — A second pass catches any remaining lumps before mixing.
- Use warm water — Room temperature water dissolves the sugar faster.
- Cover as you go — Keep every bowl wrapped while you work.
- Test the ribbon — Lift the paddle and count how long the line holds.
- Dry overnight — Humid days need the full overnight cure.
- Keep a thick batch — Reserve some firm icing for fine details.
Easy Variations
Swap the vanilla for almond or lemon extract at the same 1 teaspoon amount for a different flavor profile. For a deeper color without extra liquid, add an extra drop or two of gel paste instead of more water. A pinch more salt cuts sweetness if you like a less sugary finish.
Storing and Reheating
Store unused icing in an airtight container in the refrigerator for up to 1 week, with plastic wrap pressed onto the surface. Bring it to room temperature and stir well before using, adding a few drops of warm water if needed. Decorated cookies keep in a single layer at room temperature for up to 1 week, and the icing freezes for up to 2 months.
Nutrition (per serving)
These values are estimates per serving and will vary with how much icing ends up on each cookie.
| Nutrient | Amount |
|---|---|
| Calories | 82 kcal |
| Protein | 0g |
| Carbs | 20g |
| Fat | 0g |
| Fiber | 0g |
| Sodium | 15mg |
FAQs
Can I make this Martha Stewart sugar cookie icing recipe ahead of time?
Yes, it keeps in the refrigerator for up to 1 week in an airtight container with plastic wrap on the surface. Stir it well and loosen with a few drops of warm water before piping.
Can I use liquid food coloring instead of gel?
You can, but liquid coloring adds water and will thin the icing while muting the shade. Gel or paste coloring gives a stronger color with far less liquid.
Why is my icing dull or grainy?
It almost always needs more beating time, so keep going on medium-high until it turns glossy and marshmallow-like. If the sugar was not sifted first, lumps will stay behind no matter how long you mix.
Where did decorated sugar cookie icing come from?
Royal-style icing made with powdered sugar and a protein like meringue powder became popular in European and American baking for its ability to dry hard and hold detailed shapes. It spread widely with home bakers once meringue powder became easy to find in grocery stores.
PrintMartha Stewart-Inspired Sugar Cookie Icing

A glossy, pipeable royal-style icing inspired by Martha Stewart’s classic approach to decorated cookies. It dries to a smooth, matte finish with a gentle snap, making it ideal for outlining, flooding, and adding fine details. The flavor is clean and sweet with a hint of vanilla, letting the cookie shine.
- Prep Time: 10
- Total Time: 10
- Yield: 24 1x
- Category: Dessert
- Method: No-Bake
- Cuisine: American
Ingredients
- 4 cups (480g) powdered sugar, sifted
- 3 tbsp (30g) meringue powder
- 1/2 tsp (2g) kosher salt
- 6 tbsp (90ml) warm water, plus more as needed
- 1 tsp (5ml) vanilla extract
- Gel food coloring, optional, for tinting
Instructions
- In the bowl of a stand mixer fitted with the paddle attachment, combine the sifted powdered sugar, meringue powder, and kosher salt on low speed until evenly mixed, about 30 seconds. Sifting the powdered sugar first is essential; skipping it leaves hard lumps that clog piping tips.
- With the mixer running on low, slowly add the warm water and vanilla extract. Mix until the dry ingredients are fully moistened, then scrape down the bowl and paddle.
- Increase the speed to medium-high and beat until the icing is thick, glossy, and holds a soft peak when the paddle is lifted, 4 to 5 minutes. If it looks dull or grainy, keep beating; it should become smooth and marshmallow-like.
- Check the consistency: for outlining, the icing should ribbon off the paddle and hold its shape on the surface for a few seconds. For flooding, stir in additional warm water 1 teaspoon at a time until it flows in a smooth ribbon that disappears into the bowl within 10 seconds.
- If tinting, divide the icing among small bowls and stir in gel food coloring one drop at a time until the desired shade is reached. Gel coloring is preferred over liquid, which thins the icing and dulls the color.
- Transfer the icing to piping bags fitted with small round tips or to squeeze bottles. Work with one color at a time and keep the remaining icing covered with plastic wrap pressed directly onto the surface to prevent a crust from forming.
- Pipe outlines on completely cooled cookies and let them set for 10 to 15 minutes before flooding the centers. Use a toothpick to drag the flood icing into corners and pop any air bubbles.
- Let the decorated cookies dry uncovered at room temperature until the icing is fully set and firm to the touch, at least 2 hours or up to overnight, depending on humidity. Do not stack or package the cookies until the icing is completely hard.
Notes
Store unused icing in an airtight container in the refrigerator for up to 1 week; press plastic wrap directly onto the surface. To use, bring to room temperature and stir well, adding a few drops of warm water if needed. Decorated cookies keep in a single layer in an airtight container at room temperature for up to 1 week; separate layers with parchment paper once the icing is fully dry. For longer storage, freeze undecorated cookies for up to 3 months and ice after thawing. The icing itself can be frozen in small containers for up to 2 months; thaw overnight in the refrigerator and rebeat briefly before use. This icing is not suitable for piping fine lettering once thinned for flooding; keep a thicker batch for details.
Nutrition
- Calories: 82
- Sugar: 20g
- Sodium: 15mg
- Saturated Fat: 0g
- Carbohydrates: 20g
- Fiber: 0g
- Protein: 0g
- Cholesterol: 0mg
Keywords: Martha Stewart sugar cookie icing, sugar cookie icing, royal icing recipe, cookie decorating icing, easy icing for cookies, vanilla icing, no-cook icing, holiday cookie icing, Martha Stewart inspired