
 anabelle
 By anabelle
 Fact checked by Edward Harrington
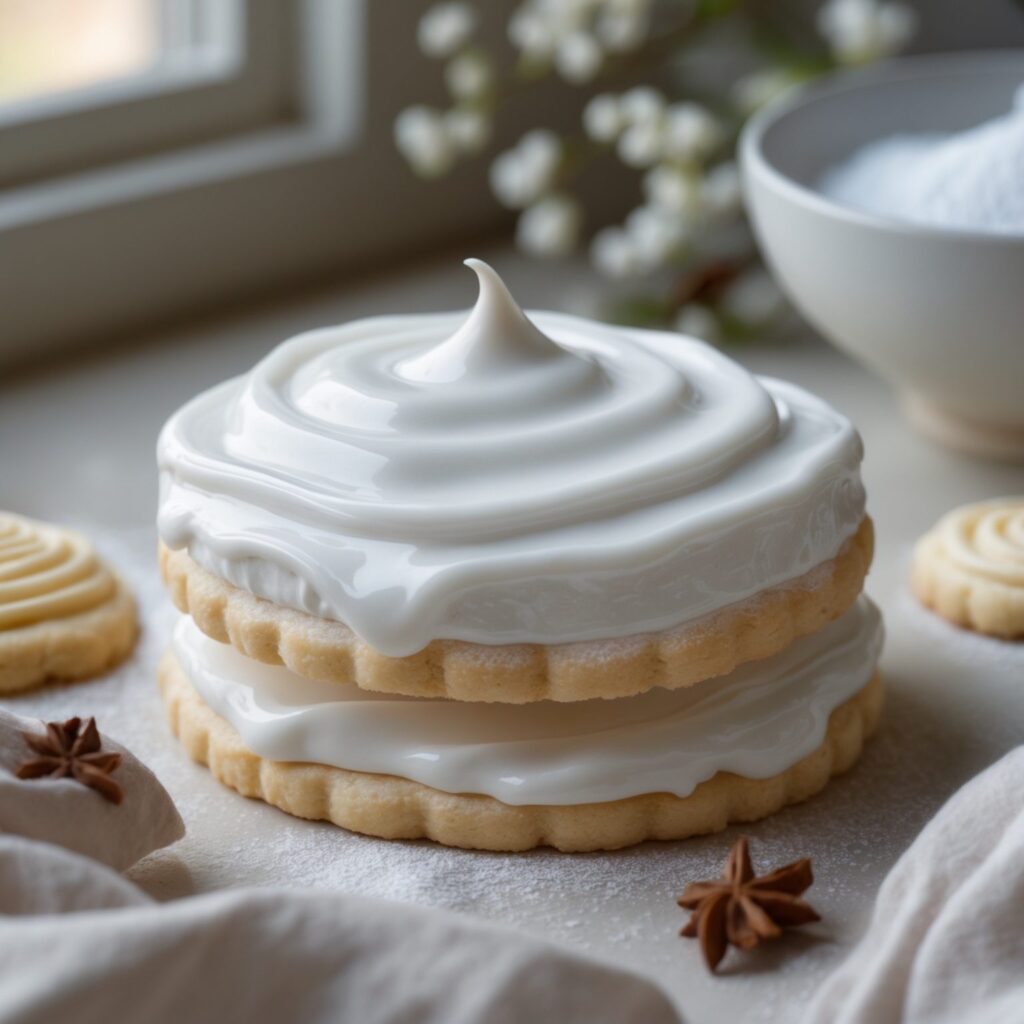
Martha Stewart royal icing is the glossy, snow-white icing that turns plain sugar cookies into decorated ones. It has a clean, sweet flavor with just a hint of vanilla, and it dries to a smooth, matte finish that holds its shape. This version is inspired by Martha Stewart and uses meringue powder instead of raw egg whites, so it’s stable and safe to work with. It pipes into crisp borders and floods into flat, even centers. Once dry, it’s hard to the touch but still tender when you bite into the cookie.
This whole batch takes about 10 minutes to mix and needs no cooking at all, so it’s an easy project even for a first-time decorator. It’s best for holiday cookie trays, birthday parties, and weekend baking when you want cookies that look finished. Make a batch before a cookie-decorating afternoon and you’ll have plenty for a crowd.
Why This Martha Stewart Royal Icing Works
The cream of tartar is what gives the icing structure. It helps the meringue powder whip up into a stable foam, so the icing holds a soft peak and doesn’t sag once it’s piped onto a cookie.
Beating on medium-high for the full 4 to 5 minutes matters more than any single ingredient. That time is what builds the glossy body, and stopping early leaves a thin, runny icing that won’t hold a border.
What You’ll Love About It
It comes together in one bowl in about 10 minutes with no cooking. The icing dries hard and smooth, so decorated cookies stack and travel without smudging. And you can tint it any color you like with gel food coloring.
Ingredients
These six simple ingredients make enough icing to decorate several dozen cookies.
- 4 cups (480g) powdered sugar — sift it first if it looks lumpy.
- 3 tablespoons (30g) meringue powder — this replaces raw egg whites and gives the icing its structure.
- 1/2 teaspoon (2g) cream of tartar — helps the icing hold a peak.
- 1/2 cup (120ml) warm water, plus more as needed
- 1 teaspoon (5ml) vanilla extract
- Gel food coloring, optional — gel gives stronger color without thinning the icing.
Equipment
- Stand mixer — fitted with the paddle attachment.
- Mixing bowl — the mixer bowl works fine.
- Piping bags — fitted with small round tips.
- Squeeze bottles — handy for flooding.
- Toothpicks — for tinting and popping bubbles.
- Damp towel — to cover bowls as you work.
How to Make Martha Stewart Royal Icing
Step 1: Combine the Dry Ingredients
In the bowl of a stand mixer fitted with the paddle attachment, combine 4 cups (480g) powdered sugar, 3 tablespoons (30g) meringue powder, and 1/2 teaspoon (2g) cream of tartar. Mix on low speed for 30 seconds until evenly combined and no lumps remain. Scrape down the bowl once so nothing dry sits at the bottom.
Step 2: Add the Liquid and Beat
Add 1/2 cup (120ml) warm water and 1 teaspoon (5ml) vanilla extract. Mix on low speed until the ingredients are moistened, then increase to medium-high and beat for 4 to 5 minutes. You’re looking for an icing that’s thick, glossy, and holds a soft peak when the beater is lifted.
Step 3: Check the Consistency
For piping borders, the icing should be stiff enough to hold its shape. For flooding, thin it with water 1 teaspoon at a time until it ribbons off the beaters and settles in about 10 seconds. The most common mistake is adding too much water at once, so add it gradually and stir well before checking again.
Step 4: Tint the Icing
If you’re using gel food coloring, divide the icing among small bowls and tint each with a toothpick of color, stirring until evenly blended. Keep the bowls covered with a damp towel as you work so a crust doesn’t form on top.
Step 5: Pipe and Flood
Transfer the icing to piping bags fitted with small round tips or to squeeze bottles. Pipe borders around the cookies first, then flood the centers with thinner icing, using a toothpick to pop any bubbles and spread it evenly.
Step 6: Let the Cookies Dry
Let the decorated cookies dry uncovered at room temperature for 6 to 8 hours, or overnight, until the icing is completely hard to the touch. Store them in an airtight container once fully dry.
What to Serve With It
Use this icing on sugar cookies, gingerbread, and shortbread rounds for holiday trays. It’s also lovely on a simple vanilla cake or cupcakes for birthdays and bake sales. Serve the finished cookies with coffee or hot cocoa for an afternoon treat.
Tips for the Best Results
- Sift the sugar — this removes lumps that clog piping tips.
- Use gel color — liquid coloring thins the icing too much.
- Cover the bowls — a damp towel stops a crust forming.
- Test the ribbon — the icing should settle in about 10 seconds.
- Work in batches — keep the icing you’re not using covered.
- Dry fully — hard icing won’t smudge when you stack cookies.
Easy Variations
Swap the vanilla for 1/2 teaspoon of almond or lemon extract for a different flavor. For a brighter white, skip the extract and thin with water only. Add 1 to 2 drops of gel color per small bowl to build a full palette for decorating.
Storing and Reheating
- Refrigerator — keep unused icing in an airtight container for up to 3 days.
- Freezer — freeze in a freezer-safe container for up to 2 months.
- Make-ahead — prepare icing up to 3 days in advance and refrigerate.
- Reusing — bring to room temperature and beat briefly with a few drops of water.
Nutrition (per serving)
These values are estimates per serving and will vary with how much icing lands on each cookie.
| Nutrient | Amount |
|---|---|
| Calories | 87 kcal |
| Protein | 0.5g |
| Carbs | 21g |
| Fat | 0g |
| Fiber | 0g |
| Sodium | 3mg |
FAQs
Can I make this Martha Stewart royal icing recipe ahead of time?
Yes, you can prepare the icing up to 3 days in advance and store it covered in the refrigerator. Bring it to room temperature and beat briefly before using, adding a few drops of water if it has stiffened.
Can I use something besides meringue powder?
Meringue powder is what gives this icing its structure, so it’s the ingredient I’d keep. There isn’t a perfect one-for-one swap that behaves the same for piping and flooding.
Why is my icing too runny or too stiff?
Runny icing usually means too much water, so beat in a spoonful more powdered sugar to firm it up. Stiff icing just needs water added 1 teaspoon at a time until it reaches the consistency you want.
Where did royal icing come from?
Royal icing has been used in European baking for centuries, and it became popular in England in the 1800s as a hard-setting icing for celebration cakes. Today it’s a standard for decorated cookies in American home baking.
PrintMartha Stewart-Inspired Royal Icing

This Martha Stewart-inspired royal icing is a glossy, snow-white icing that dries to a smooth, matte finish, perfect for piping borders and flooding cookies. Made with just powdered sugar, meringue powder, and water, it firms up beautifully for decorated sugar cookies and gingerbread. A classic American home-baking staple.
- Prep Time: 10
- Total Time: 10
- Yield: 24 1x
- Category: Dessert
- Method: No-Bake
- Cuisine: American
Ingredients
- 4 cups (480g) powdered sugar
- 3 tablespoons (30g) meringue powder
- 1/2 teaspoon (2g) cream of tartar
- 1/2 cup (120ml) warm water, plus more as needed
- 1 teaspoon (5ml) vanilla extract
- Gel food coloring, optional
Instructions
- In the bowl of a stand mixer fitted with the paddle attachment, combine the powdered sugar, meringue powder, and cream of tartar. Mix on low speed for 30 seconds until evenly combined and no lumps remain.
- Add the warm water and vanilla extract. Mix on low speed until the ingredients are moistened, then increase to medium-high and beat for 4 to 5 minutes, until the icing is thick, glossy, and holds a soft peak when the beater is lifted.
- Check the consistency: for piping borders, the icing should be stiff enough to hold its shape; for flooding, thin with water 1 teaspoon at a time until it ribbons off the beaters and settles in about 10 seconds. A common mistake is adding too much water at once, so add it gradually.
- If using gel food coloring, divide the icing among small bowls and tint each with a toothpick of color, stirring until evenly blended. Keep bowls covered with a damp towel as you work to prevent a crust from forming.
- Transfer the icing to piping bags fitted with small round tips or squeeze bottles. Pipe borders around cookies first, then flood the centers with thinner icing, using a toothpick to pop any bubbles and spread evenly.
- Let the decorated cookies dry uncovered at room temperature for 6 to 8 hours, or overnight, until the icing is completely hard to the touch. Store in an airtight container once fully dry.
Notes
Store unused royal icing in an airtight container in the refrigerator for up to 3 days. To reuse, bring to room temperature and beat briefly, adding a few drops of water if needed to restore consistency. Royal icing can be frozen for up to 2 months in a freezer-safe container; thaw overnight in the refrigerator and rebeat before using. Decorated cookies keep in an airtight container at room temperature for up to 2 weeks. Make-ahead: prepare icing up to 3 days in advance and store in the refrigerator.
Nutrition
- Calories: 87
- Sugar: 20g
- Sodium: 3mg
- Saturated Fat: 0g
- Carbohydrates: 21g
- Fiber: 0g
- Protein: 0.5g
- Cholesterol: 0mg
Keywords: royal icing, Martha Stewart royal icing, royal icing recipe, cookie icing, icing for sugar cookies, meringue powder icing, royal icing for decorating, easy royal icing, American royal icing, icing that hardens